
Popcorn ceilings, also known as textured or acoustic ceilings, were once a popular choice in homes and buildings in the mid-20th century. However, in recent years, homeowners have been removing popcorn ceilings to achieve a modern, sleek look. Popcorn ceiling removal is not an easy task, but with the right tools and knowledge, it can be done successfully. In this article, we will discuss the reasons for popcorn ceiling removal, the steps involved in the removal process, and some tips for successful removal.
Why Remove Popcorn Ceilings?
There are several reasons why homeowners may choose to remove popcorn ceilings. First, popcorn ceilings can be difficult to clean and maintain. Dirt and dust can get trapped in the textured surface, making it hard to remove. Second, popcorn ceilings can contain asbestos, a harmful substance that was commonly used in construction materials until the 1980s. If your home was built before 1980, it is important to have your popcorn ceiling tested for asbestos before attempting to remove it. Finally, many homeowners simply prefer the look of a smooth ceiling, as opposed to the bumpy, textured surface of a popcorn ceiling which is why so many of them are opting for popcorn ceiling removal.
If you have decided to remove your popcorn ceiling, follow these steps to ensure a successful removal:
Step 1: Test for Asbestos
Before you begin any popcorn ceiling removal project, it is important to test for asbestos. Asbestos is a harmful substance that can cause lung cancer and other respiratory diseases when its fibres are inhaled. It was commonly used in construction materials until the 1980s, so if your home was built before that time, there is a chance that your popcorn ceiling contains asbestos.
To test for asbestos, you can purchase a DIY testing kit from a home improvement store or hire a professional asbestos testing company. If your test comes back positive for asbestos, you will need to hire a licensed asbestos abatement contractor to safely remove the material.
Step 2: Prepare the Room
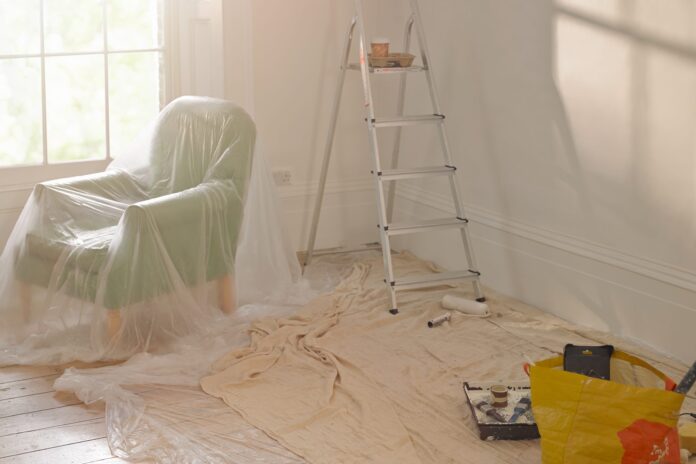
Once you have confirmed that your popcorn ceiling does not contain asbestos, it’s time to prepare the room for the removal process. First, remove all furniture and cover the floor with plastic sheets. This will protect your furniture and flooring from the dust and debris that will be created during the removal process.
Next, turn off the power to the room and remove any light fixtures or ceiling fans. Cover the exposed electrical boxes with plastic sheets and secure them with painter’s tape.
Step 3: Wet the Ceiling
Wetting the ceiling is a crucial step in removing the popcorn texture. It helps to loosen the texture, making it easier to scrape off. Before wetting the ceiling, make sure to cover the floors and furniture with plastic sheeting to protect them from any water damage.
To wet the ceiling, you can use a garden sprayer, a spray bottle, or a large sponge. Fill the garden sprayer or spray bottle with warm water, and spray the ceiling in a small section at a time, starting from the highest point of the ceiling and working your way down. Make sure to wet the ceiling thoroughly but avoid saturating it, as this can damage the drywall underneath.
After wetting the ceiling, let it sit for 15-20 minutes to allow the water to fully penetrate the popcorn texture. This will make it easier to scrape off later. If you notice any areas that have dried out, you can reapply the water to them.
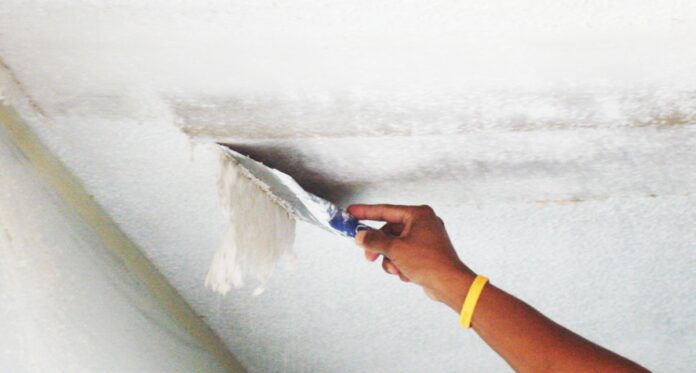
Step 4: Scrape the Ceiling
Now it’s time to start removing the popcorn texture from the ceiling. Use a wide putty knife or a ceiling texture scraper to gently scrape the texture off the ceiling. Work in small sections and be careful not to damage the underlying drywall.
If you’re having trouble removing the texture, try wetting it down again with your spray bottle. You can also rent a texture scraper with a vacuum attachment to make the job easier and less messy.
Step 5: Patch Holes and Cracks
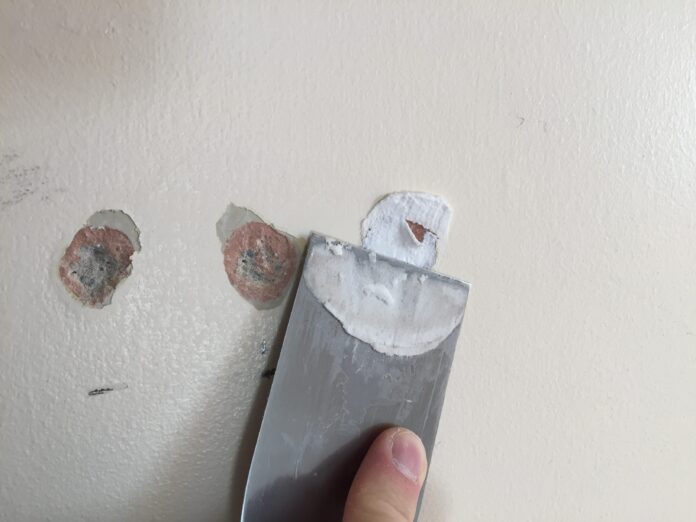
After removing the popcorn texture from the ceiling, you may notice small holes or cracks in the surface. These imperfections can be caused by a variety of factors, including the removal process itself, the age of the ceiling, or damage from moisture or settling of the house over time. Before painting the ceiling, these holes and cracks need to be repaired to achieve a smooth finish.
To patch holes, use a putty knife to fill them with spackle or joint compound. For larger holes, use a drywall patch kit to create a smooth, even surface. First, place the adhesive patch over the hole, making sure to press it firmly against the ceiling. Then, apply the joint compound over the patch with a putty knife, spreading it out smoothly and evenly. Allow the compound to dry completely, following the manufacturer’s instructions. Once the compound has dried, sand the area smoothly with a sanding block or sandpaper.
Step 6: Paint the Ceiling
After patching any holes and cracks in the ceiling, it’s time to paint. Before you start painting, make sure the patched areas are completely dry and sanded smooth. If there are any rough spots, the paint will not adhere properly, and the final result will look uneven.
When selecting paint, it’s important to choose a high-quality product with a matte or eggshell finish. A flat finish should be avoided, as it will highlight any imperfections in the ceiling. Eggshell or matte finishes are better at hiding imperfections and provide a more uniform look.
Step 7: Clean Up
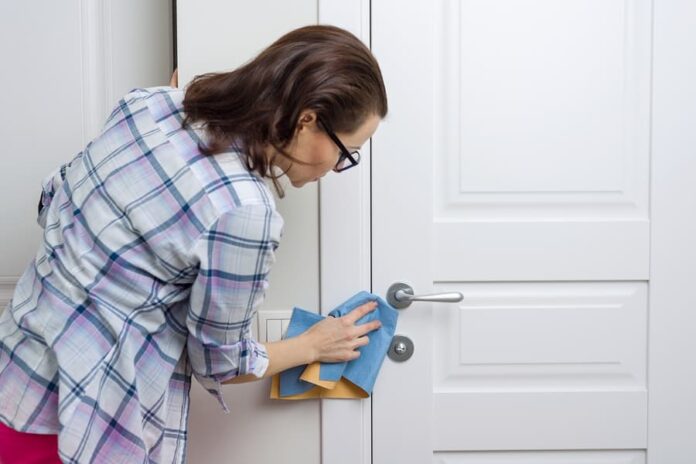
After the paint has dried, remove the plastic sheeting from the floor and replace any light fixtures or ceiling fans that were removed. Vacuum the room to remove any dust or debris that may have accumulated during the popcorn ceiling removal process.
In conclusion, removing a popcorn ceiling can be a challenging but rewarding home improvement project. Whether you’re looking to update the look of your home or need to address the presence of asbestos, following the step-by-step guide above can help you achieve a smoother, more modern ceiling. Remember to test for asbestos before starting any popcorn ceiling removal project, and if you’re unsure about any aspect of the process, don’t hesitate to consult with a professional. With careful planning and execution, you can enjoy a fresh, updated ceiling that will enhance the overall look and feel of your home.


